As the owner of Boston Hardwood Decks, I’ve spent over five years immersed in the craft of building and restoring hardwood decks. Over time, even the most well-built decks can succumb to the elements, with boards showing signs of rot and wear. But fear not! With the right tools, materials, and a bit of elbow grease, you can restore your deck’s former glory. In this guide, I’ll walk you through the step-by-step process of replacing rotted boards on your old hardwood deck.
Step 1: Assessment and Preparation
Before diving into the replacement process, take a thorough assessment of your deck. Identify any boards showing signs of rot, decay, or damage. These are the ones we’ll be focusing on replacing. Once you’ve marked them, gather your tools and materials:
- Safety goggles
- Work gloves
- Pry bar
- Hammer
- Circular saw
- Replacement hardwood boards (make sure they match the species and dimensions of your existing deck boards)
- Deck screws
- Drill/driver
- Tape measure
- Carpenter’s square
Step 2: Removing the Rotted Boards
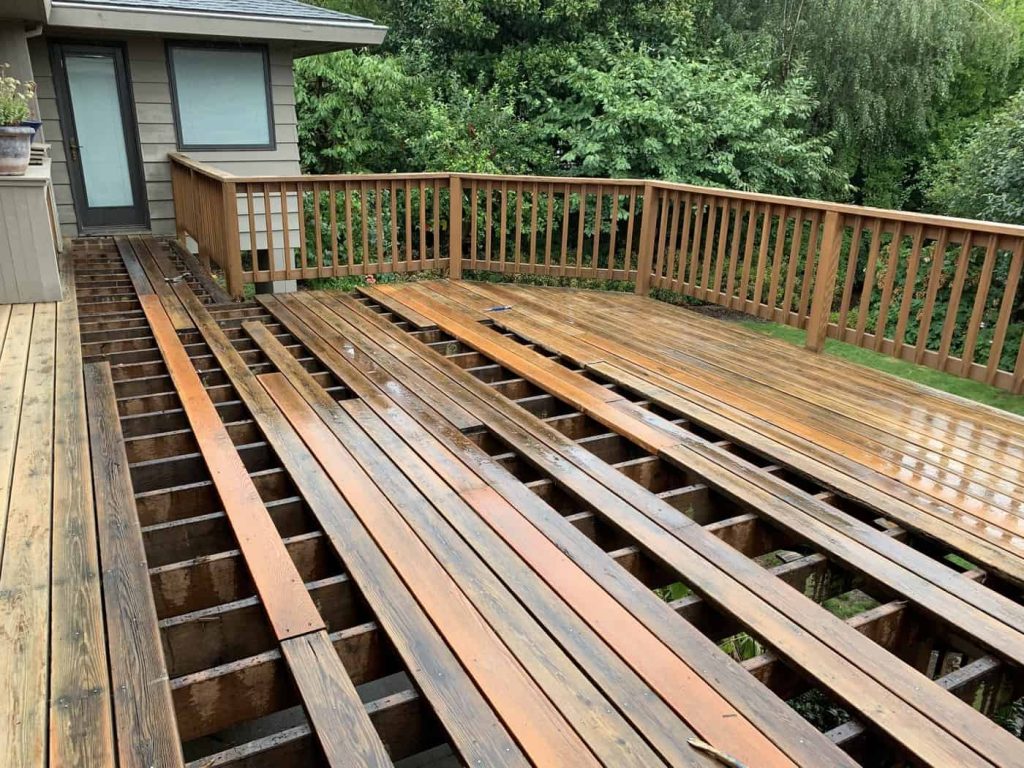
With your safety gear on, begin by using the pry bar and hammer to carefully remove the rotted boards. Start at one end and work your way across, taking care not to damage neighboring boards or the deck’s structure. Once loosened, lift the boards away and discard them properly.

Step 3: Measuring and Cutting
Using your tape measure and carpenter’s square, measure the length needed for each replacement board. Remember to account for any overhang on the edges. Transfer these measurements to your replacement hardwood boards and use the circular saw to make precise cuts.
Step 4: Installing the Replacement Boards
Place the replacement boards into position, ensuring they fit snugly against the neighboring boards. Use your drill/driver and deck screws to secure them in place, driving the screws through the face of the board and into the underlying joists. Be sure to space the screws evenly along the length of each board for maximum stability.
Step 5: Finishing Touches
Once all the replacement boards are installed, give your deck a once-over to check for any loose screws or imperfections. Tighten any loose screws and sand down any rough edges for a smooth finish. If desired, apply a protective sealant or stain to the entire deck to enhance its durability and aesthetics.
Step 6: Regular Maintenance
To prolong the life of your newly restored deck, make a habit of regular maintenance. This includes sweeping away debris, keeping the deck surface clean, and periodically reapplying sealant or stain as needed. With proper care, your hardwood deck will continue to provide years of enjoyment for you and your family.
A Note on Difficulty
Undoubtedly, replacing rotted boards on your hardwood deck is a very attainable project for a DIYer, even if you’re not a seasoned carpenter. With the right tools, materials, and a bit of patience, you can achieve professional-looking results. If you’re looking for more detailed guidance or inspiration, there are plenty of resources available online. Websites like This Old House, DIY Network, and Home Depot’s DIY Projects & Ideas section offer comprehensive tutorials, videos, and forums where you can seek advice from fellow DIY enthusiasts. Additionally, YouTube channels such as Home Repair Tutor and HouseImprovements provide step-by-step video guides that can be incredibly helpful as you tackle your deck restoration project. Remember, the key is to take your time, follow instructions carefully, and don’t hesitate to seek guidance if you encounter any challenges along the way. With a can-do attitude and a willingness to learn, you’ll be amazed at what you can accomplish!
Conclusion
In conclusion, replacing rotted boards on an old hardwood deck is a manageable task that can breathe new life into your outdoor space. By following these step-by-step instructions and drawing on my experience as a seasoned deck builder, you can tackle this project with confidence. Remember, a well-maintained deck not only adds value to your home but also serves as a gathering place for cherished memories with loved ones. If you have any questions or need further assistance, don’t hesitate to reach out to Boston Hardwood Decks. Happy decking!

Joshua Hofer
https://bostonhardwooddecks.comJoshua Hofer is the owner of Boston Hardwood Decks, driven by a deep passion for serving the community. His company stands out for its commitment to providing Boston homeowners with trustworthy professionals and top-notch workmanship for their outdoor deck projects. With a focus on quality and reliability, Joshua has built Boston Hardwood Decks into a trusted name in the industry, ensuring that every customer receives exceptional service and a beautiful, lasting deck for their home.